Honda Beat Radio

I’ve been disappointed with my Honda Beat radio. The radio doesn’t work well. The sound quality is poor and the input options are limited. When you’re driving a convertible with the top down, you need some good tunes. The radio in the Honda Beat is smaller than the standard DIN size. There’s five common options that I’ve seen online:

  1. Buy a refurbished stock radio. It might work better.
  2. Buy a marine radio. Marine radios are smaller than car radios and you could install one behind the faceplate of the stock radio to avoid altering the appearance. Many marine radios come with bluetooth and a remote that you could use to control the radio, even if the head unit is hidden.
  3. Buy an aftermarket center console. Some people have purchased aftermarket center consoles that are wide enough to support a standard DIN radio. Generally, they do not match the color or texture of the original console and surrounding pieces. Currently, I can only find one seller on Yahoo Auctions Japan. The seller has bad reviews and the center console is pretty expensive.
  4. Mount a DIN radio somewhere else. I’ve seen several single DIN radios mounted under the glove box. The glove box is particularly small and becomes even less usable with this configuration. I’ve also seen the radio mounted sideways against the center console. These options require some drilling, but add a more modern radio with minimal hacking of the dash. You could mount a radio further away from the stock radio, but you’d have a lot of re-wiring to do.
  5. Buy a 20th Anniversary Radio. Honda produced 3,500 new radios for the Honda Beat in 2011. These radios maintain a stock appearance, but have improved buttons and add Bluetooth and USB support. Additionally, Honda released improved dash radios. The MSRP for the radio was ¥65,829 and the MSRP for the speakers were ¥33,943. Yep. About $1,000 for a new radio and speakers. I convinced myself that this was totally worth it and definitely a good deal. Unfortunately, I was 7 years too late. I went to the Honda Dealer in Chatan to see if they could still get their hands on one. The staff spoke limited English, and I don’t speak nearly as much Japanese as I should, but, fortunately, I brought a print out of the Honda parts page and pointing is universally understood. They needed my title before they could do a parts search. It took about 20 minutes for them to determine that there was no hope for them to get the radio or the speakers. They recommended Yahoo Auctions as the best possibility. There’s currently one 20th Anniversary Radio on Yahoo Auctions. It’s listed for ¥200,000.

Honda Beat – List of Resources

My Beat
Vroom.

After purchasing my Honda Beat, I’ve been working on my plan of action to fix the various issues. I’ll update this page with new resources as I find them.

Worldwide:

  1. http://www.hondabeat.com.au: This Australian bloke has digital copies of service manuals, parts list, and step by step instructions for radio repairs.
  2. UK Honda Beat Club: A group in the UK dedicated to Honda Beats. In their forums, you’ll find lots of step-by-step guides in English for various Beat related projects.

Used Parts:

  1. JapaneseVehicles.com: I haven’t bought anything from them yet, but they do have a nice listing of parts online.
  2. Buyee: I thought Yahoo was a dying company, but somehow they’re the market leader in Japan. Yahoo Auctions is the auction site in Japan. It’s recommended in several forum posts on the UK Honda Beat Club forum and was recommended to me by the staff at my local Okinawa Honda dealer. Buyee provides English language translation of Yahoo Japan and shipping services outside the country. The translation service is not perfect and applies more to the content of the listing than to the title. I’ve found that the search still works better in Japanese. While looking for a new radio for my beat, I’ve been searching for “スカイサウンドコンポ” as opposed to “Sky Sound Component”. I really want to just search “Honda Beat Radio”, but that search comes up empty.
  3. Crooooober.com: This site has way too many O’s in the title. It is a listing of parts from various junk yards.

Okinawa Specific:

  1. Takushi Junk Yard: If you need Honda Beat parts, you might find them here.

Takushi Junk Yard

A couple of weeks ago, while I was driving down 23, I saw a glistening Honda Beat rising above a heap of wrecked cars. I hadn’t been to any junk yards looking for a Honda Beat, but I knew Takushi had one! Takushi Junk Yard shows only as an Auto Body Shop on Google Maps and it doesn’t have any reviews, but once the issues in my Honda Beat became clear, I knew I had to check it out. When I pulled in it looked like they were fixing cars in makeshift stalls on the left, and there was a tire shed on the right. There weren’t any marked parking spaces so I went straight and parked at the top of the hill above the junk yard. A member of the staff immediately greeted me but didn’t speak English, and I still can only say hello and yes in Japanese. He directed me to a staff member who was busy under a car, but I assumed he could speak English. After a couple minutes of waiting, he came out from the car to grab a tool and saw me waiting with the other staff member. I try not to bother people who are under cars. I asked him about gauges for my Honda Beat. He took me into the junk yard and showed me his beautiful white Honda Beat that was sitting on top of a storage container. It had been thoroughly scavenged, but it still had it’s instrument cluster. I don’t think Takushi is a pick-n-pull type of junk yard. I don’t think the technician quite understood my question, but he told me he could have the parts removed and ready in two hours. It would be 6000 yen for the instrument cluster. That seemed reasonable. I paid him a small deposit and agreed to come back in two hours. I showed up right on time, and the instrument cluster was removed and ready. I paid the same technician the remainder of the 6000 yen, and he handed me the instrument cluster. Takushi didn’t seem to do receipts or invoices. That’s chill. I don’t need ’em. The cluster had some corrosion from being exposed to the Okinawa humidity. I think the Beat had been there a long time with missing doors. The gauges didn’t all work, but I only need the fuel gauge and the temperature gauge. After several hours of work, I realized I’m an idiot. The gauges weren’t the problem. When the dealer said the gauge didn’t work, they meant it was displaying incorrect information. Now I need to do some actual diagnosis and check the sending unit. Anyways, Takushi seems like an alright place. They have parts. They aren’t expensive. If you need parts and your favorite junk yard doesn’t have it, maybe Takushi does. Unless you need parts for a Honda Beat. They don’t have any more. I bought them all.

R12 A/C Service

Most cars made after 1993 use R134a refrigerant. The production of R12 (Dichlorodifluoromethane) was banned in developed countries, Japan included, in 1996. That makes R12 refrigerant very hard to find, both in the United States, and in Japan. Unfortunately, that’s the refrigerant used in my recently acquired 1991 Honda Beat. While a convertible is meant to be driven with the top down, I found myself sweating if I put the top up even when I had the A/C set to max. It was clear the A/C system was working, but it wasn’t working well. I hoped recharging the system would rejuvenate it. I had two options, either convert the system to R134a, which would be expensive and would have reduced performance as my A/C system was designed to use R12, or find an auto shop that was still certified to handle R12 and had a supply of the gas they could purchase. I should note that R12 and R134a do not mix. One shop that I contacted told me they had a special hose that allowed them to recharge a R12 system with R134a. That’s not a thing. If I was being generous, I’d assume they meant they could convert R12 to R134a, but I’m not generous and I will never contact them again. Luckily, Toma’s Garage still has R12 equipment and gas on hand. When I spoke with them on the phone, they said they could perform the service immediately, but I should get there before 11:15 so they can recharge and test the A/C system before they take lunch at noon. Their good reviews are well deserved. I sat in the waiting room for about 30 minutes before my A/C was recharged and they’d verified the work with a test drive. When I got back in my car, it was an amazing difference. The A/C actually worked. The only downside was the cost. R12 cost 3500 yen per can through Toma’s It took two cans to recharge my system, plus labor. Worth it.

If you’re one of the other three Americans on Okinawa with a car that needs a R-12 recharge, I’d recommend Toma’s.

Getting Car Parts from the Typhoon Motors Junk Yard

While backing her car out of its tiny parking space, my wife severly miscalculated the position of a giant concrete pole that never moves. While the side mirror was made of Suzuki’s finest materials, it was no match for a giant pillar of unmoving concrete. I wouldn’t feel comfortable on the streets of Okinawa without a side mirror to see the scooters speeding down the middle of the lane so I wanted to replace the mirror as quickly as possible.

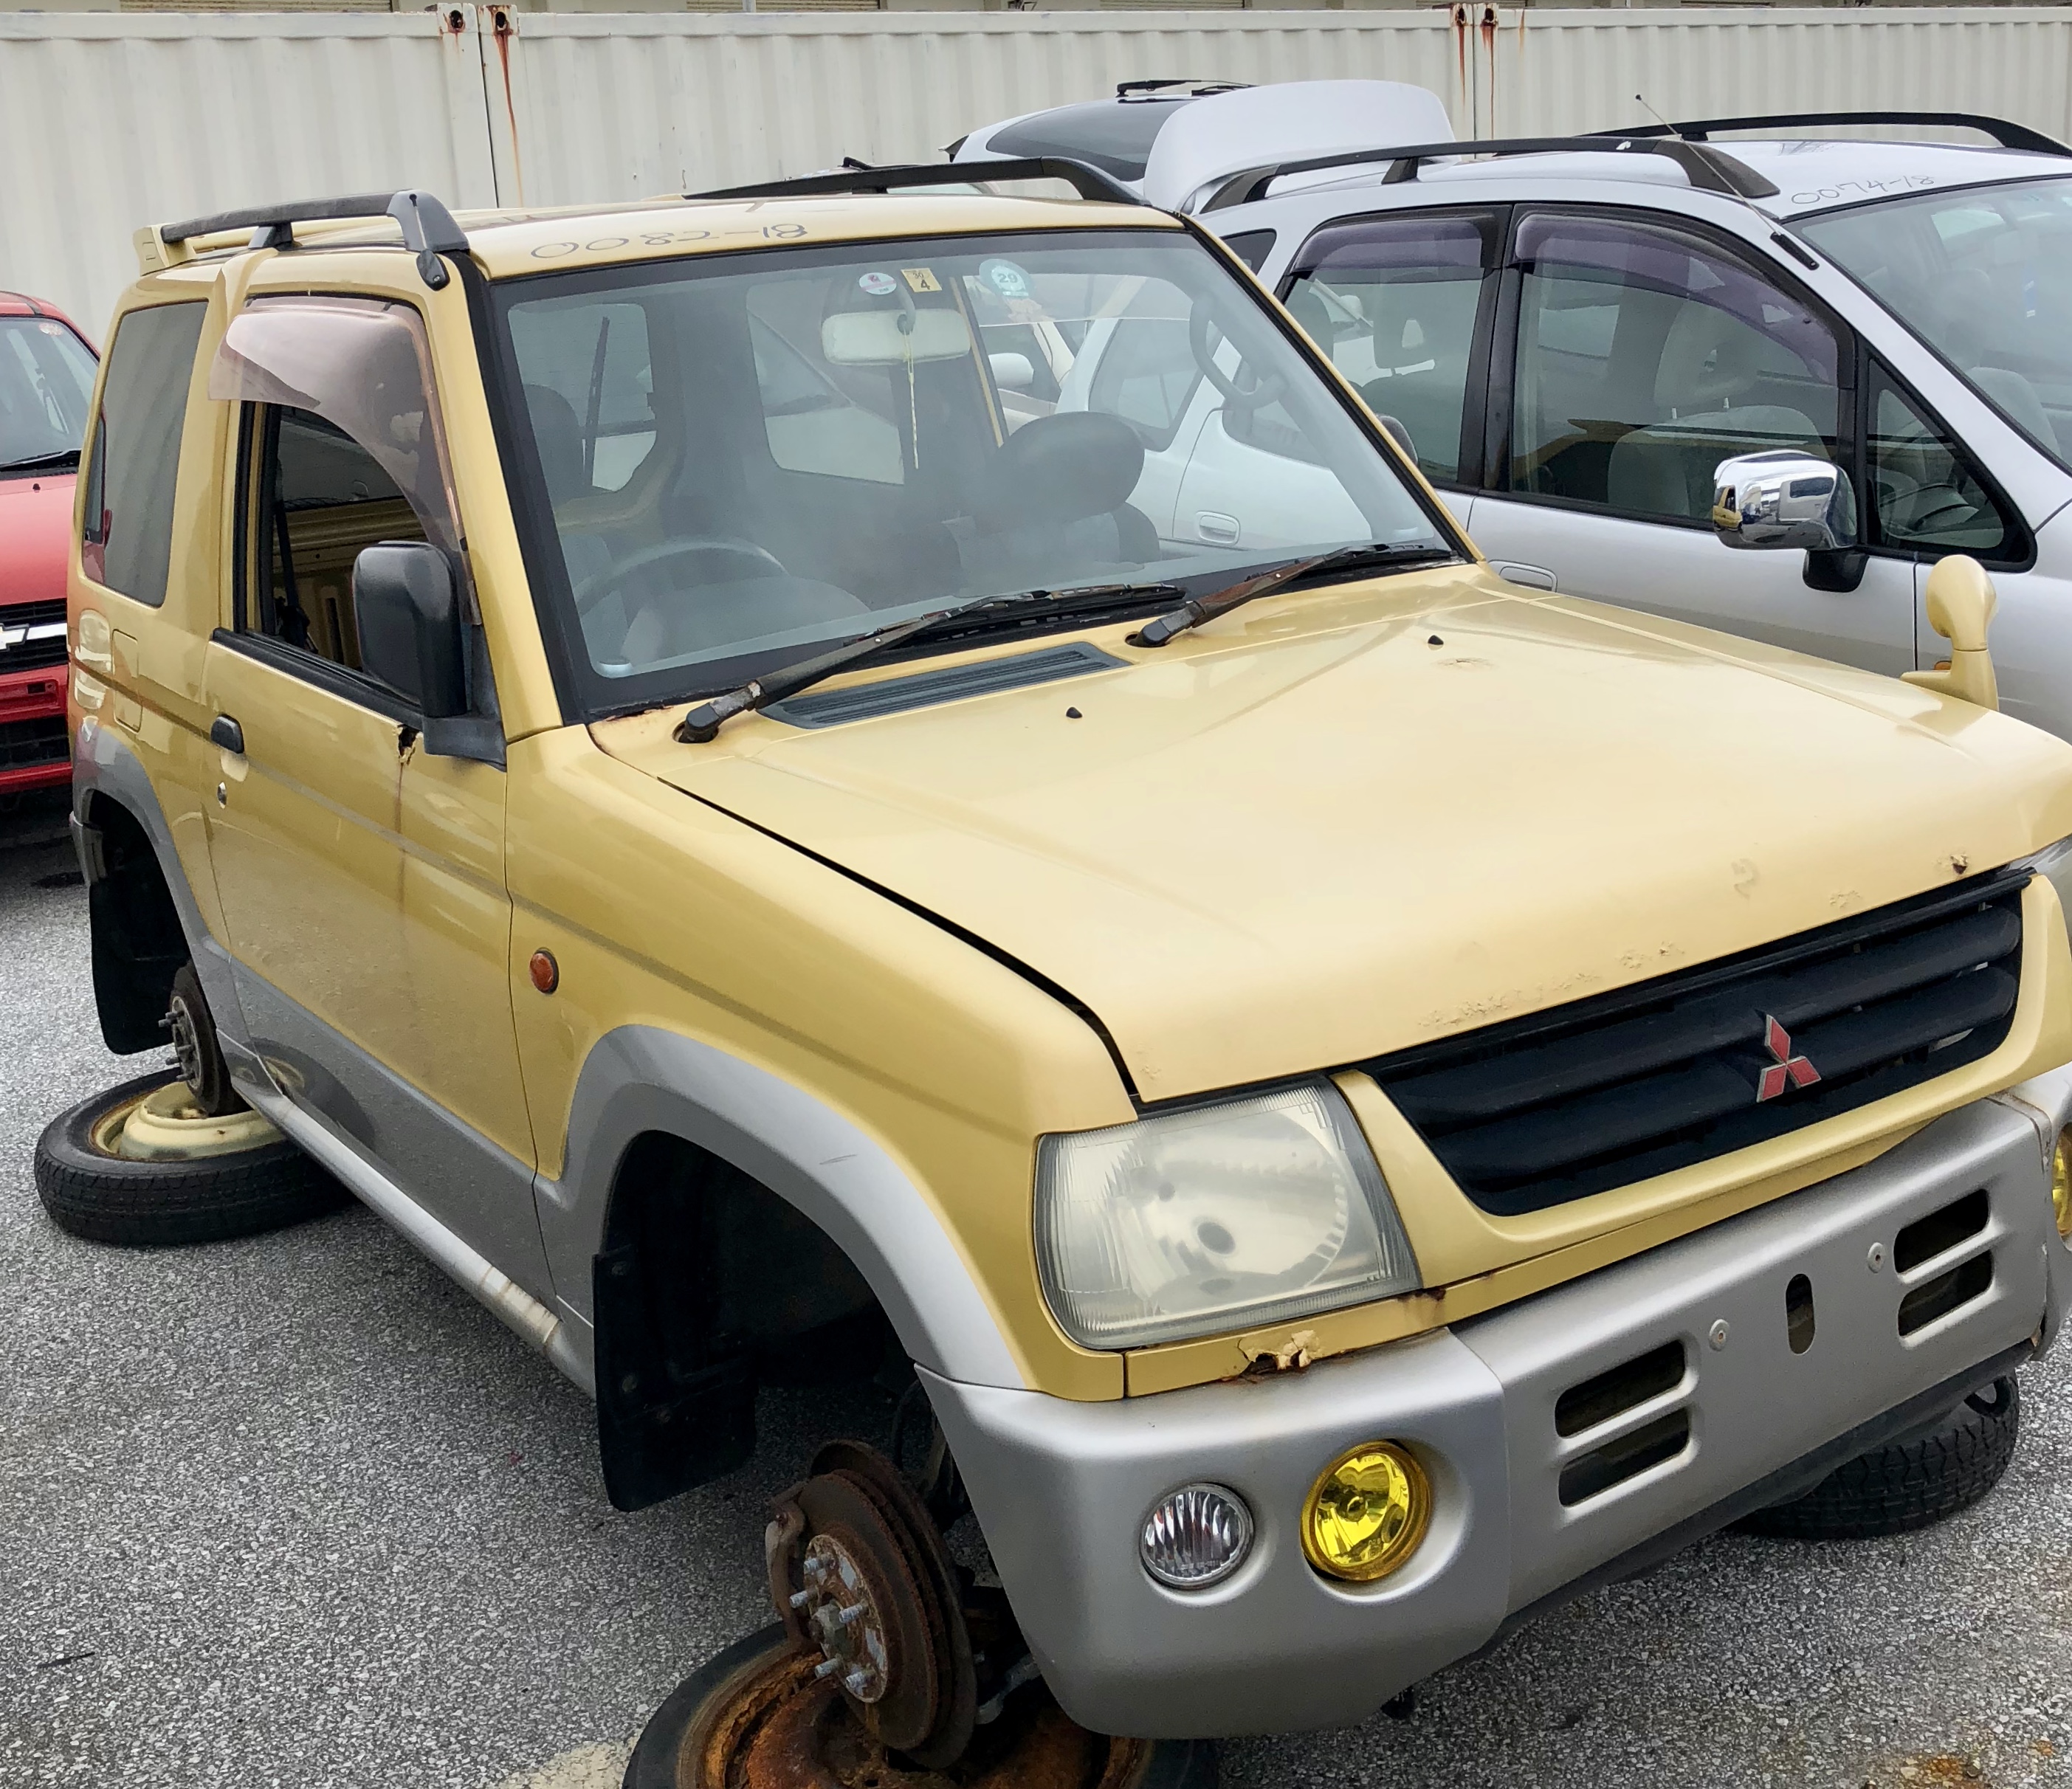
The Typhoon Motors Junk Yard at Camp Foster is open 7 days a week and has very reasonable prices if you can find what you need. Wear clothes toed shoes and check-in at the customer service counter when you arrive. You’re not allowed to remove any parts that will leak fluids yourself. If you have a common car such as a Mazda Altenza or a Nissan Cube you’ll find 3-4 suitable donor cars. If you have a less common car, cross your fingers. There were probably about 60 cars in the junkyard and I walked past them all. I even saw my old Pajero Mini as I was looking for parts.

Poor little chap.

Fortunately, in the back corner, there was a Suzuki Lapin of a similar age as my wife’s. Okay, so was a different shade of blue, and the mirror was square instead of round, but it fit. It was $15 and I could have it today. You can bring your own tools, or borrow some from the tool shed in the Auto Hobby Shop. I’d recommend bringing your own tools. The tool shed didn’t have complete metric socket sets available. If you’re like me and did no prior research to have the slightest idea what size bolts hold the mirror in, you could find yourself carrying a lot of loose sockets and constantly walking back and forth to the tool shed.

If you need a bit of inspiration, my 2003 Suzuki Lapin Driver Side Mirror Replacement instructional video is very informative.